

Maintaining Users
View and manage the users in your organization who access the Nuflights platform. This section allows you to assign roles, control permissions, and track user activity.
User List Overview
Navigate to Agency Admin > Account > Users. The list displays all users associated with your agency and their details.
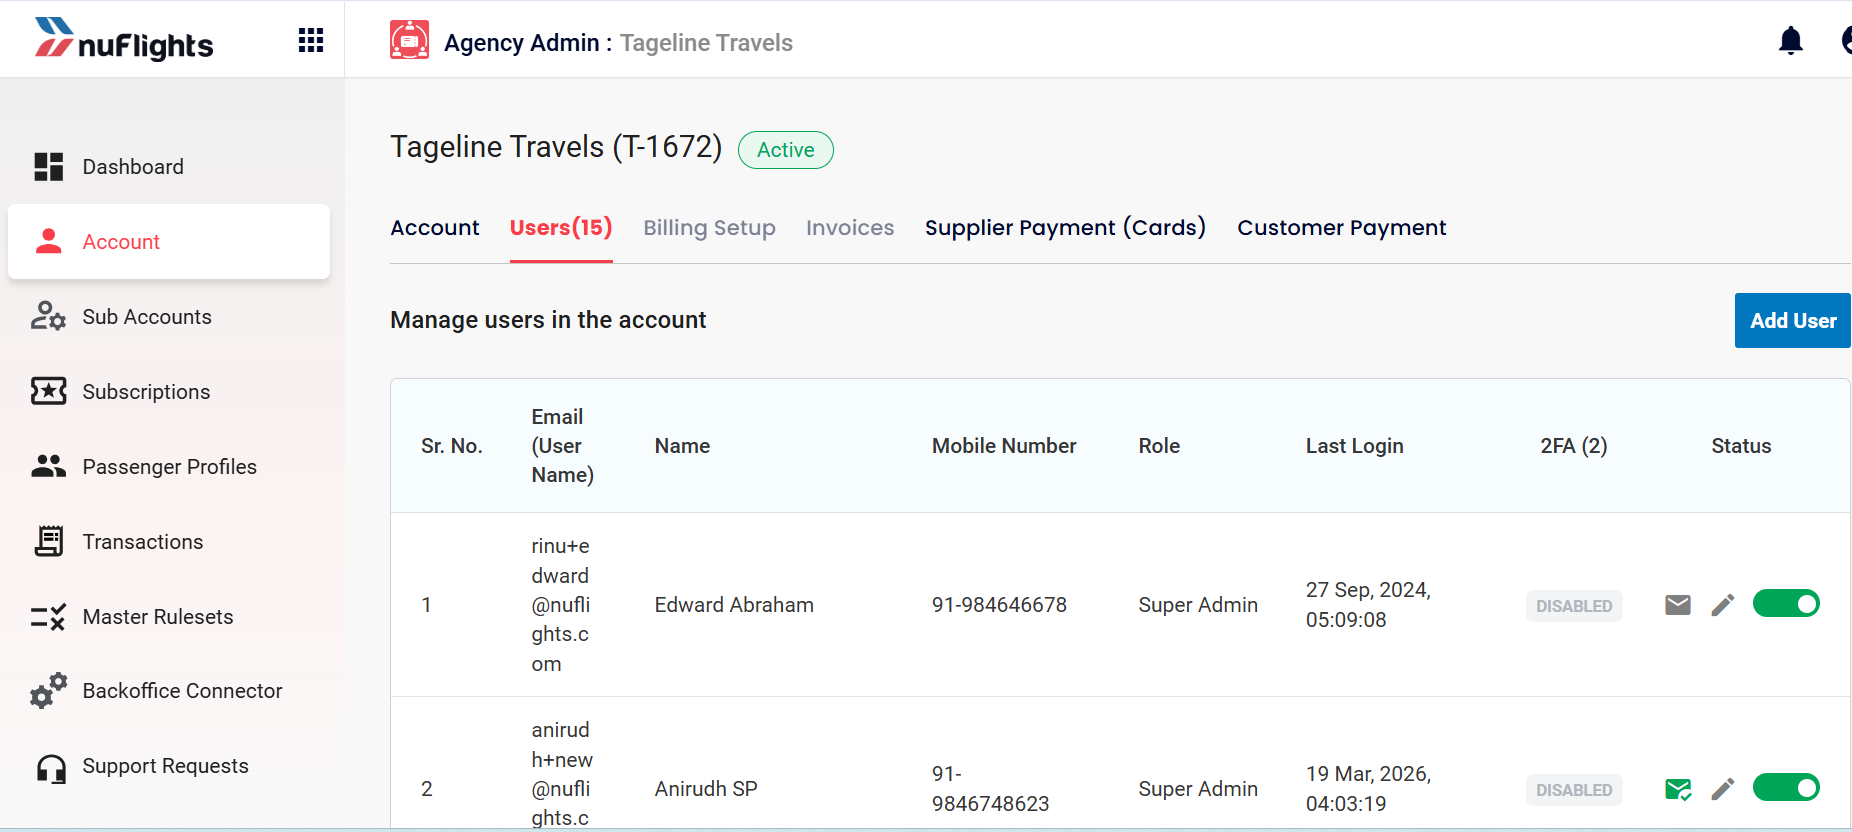
Key Information:
- Name & Email: User's contact details.
- Role: Determines the level of access.
- Last Login: Date and time of the user's last session.
- 2FA Status: Indicates if Two-Factor Authentication is enabled for their account.
- User Status: Toggle ensuring the user is Active or Inactive.
Adding a New User
To add a new user to the agency, the agent must have admin access.
-
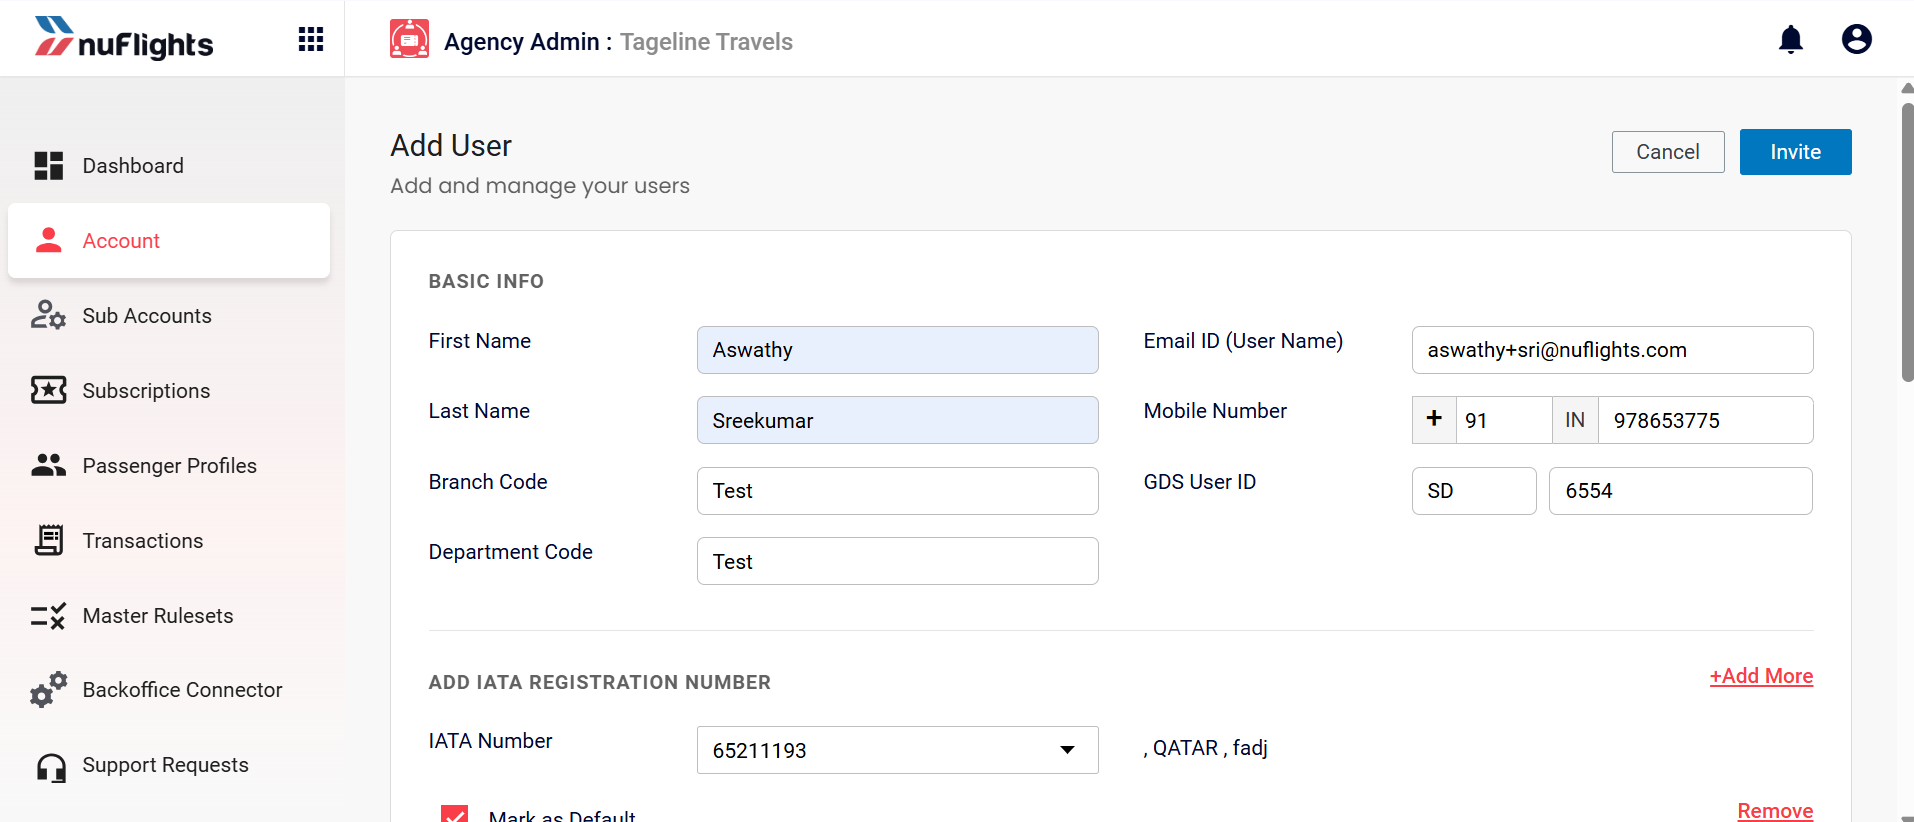
Click the Add User option.
-
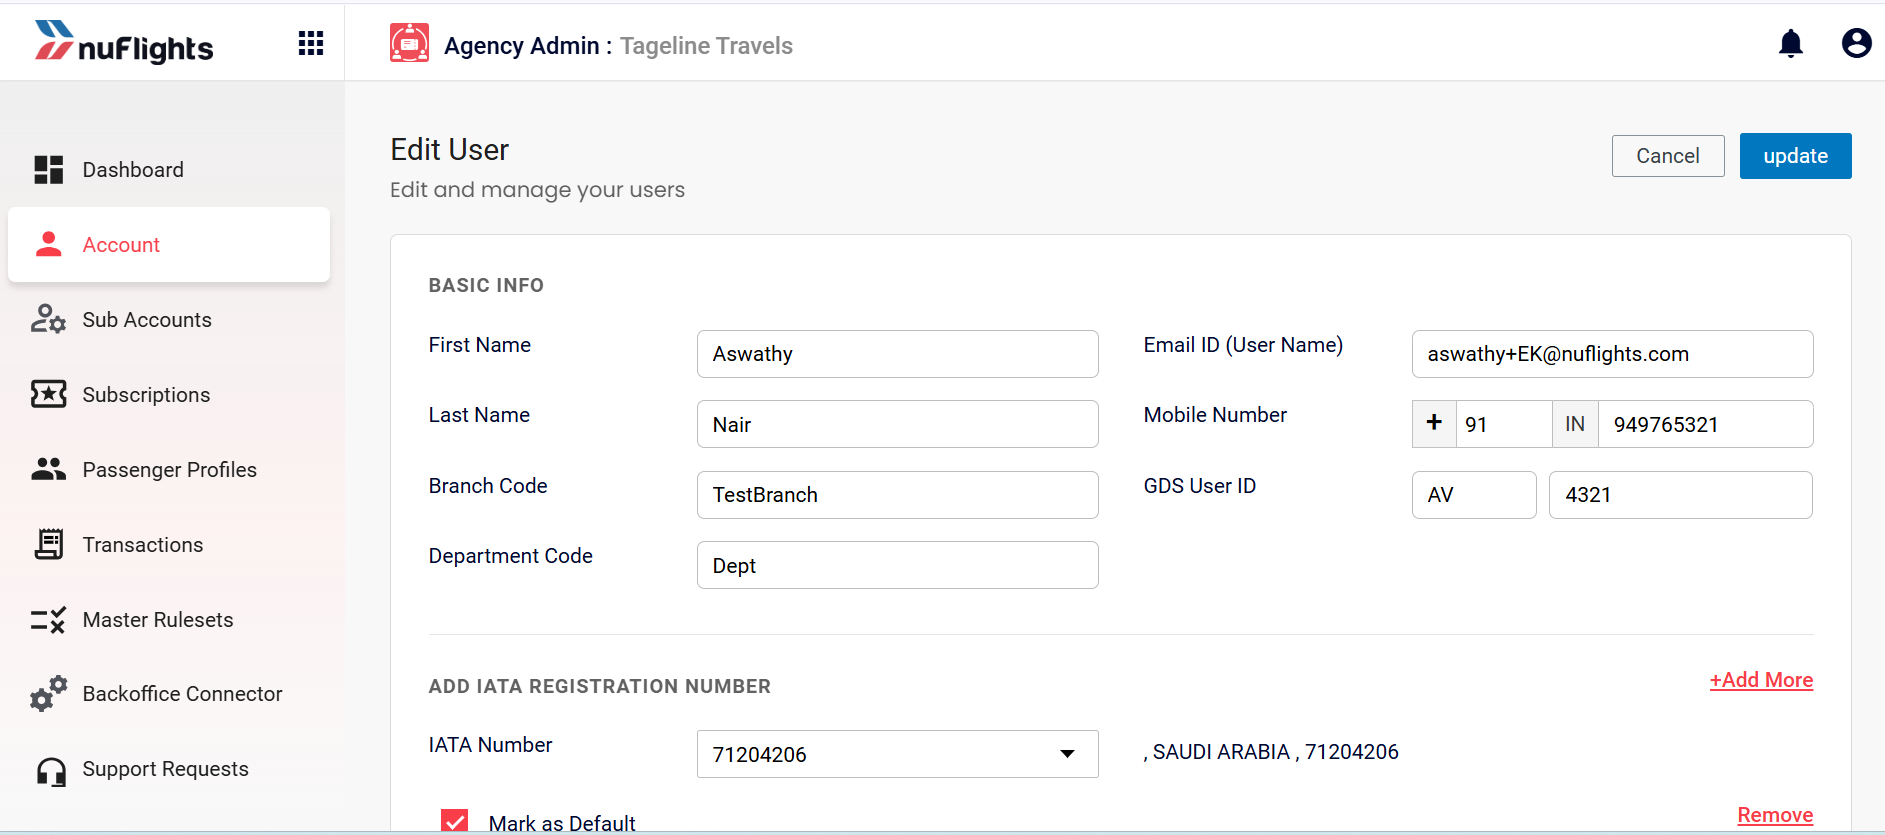
Basic Information: Enter the First Name, Last Name, Branch Code, Department Code, Email ID (which will act as the username), Mobile Number, and GDS User ID.
-
IATA Registration: Add the applicable IATA registration number.
-
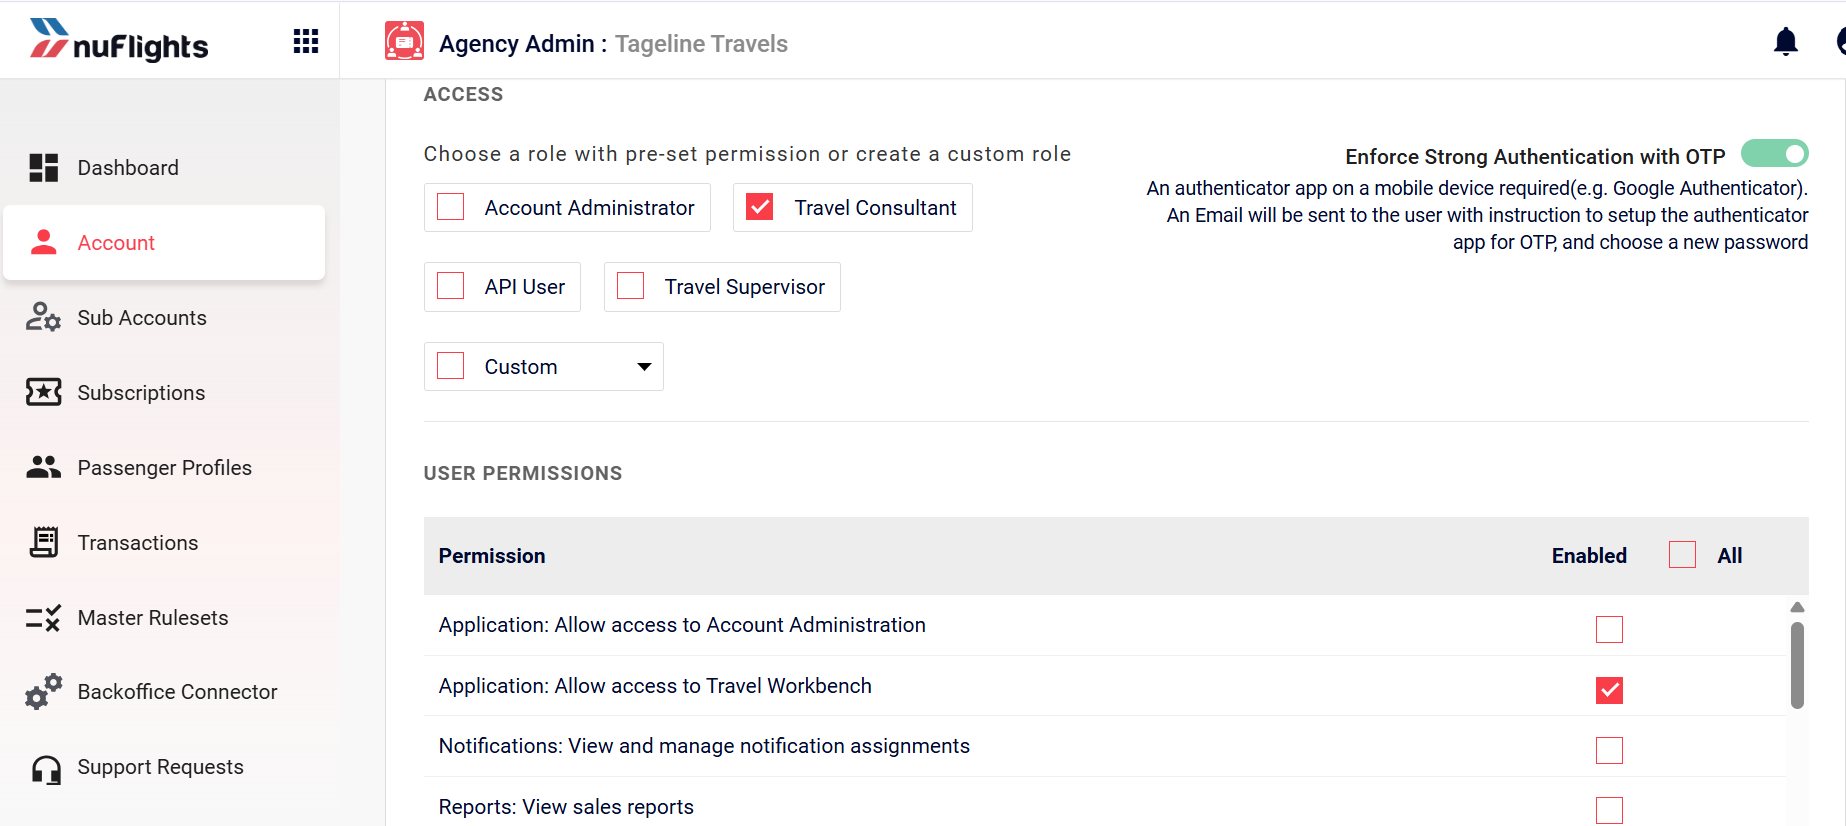
Role & Access Selection: Choose the access permissions the new user will have. Available roles include:
- Account Administrator
- Travel Consultant
- API User
- Travel Supervisor
- Custom Role (e.g., Super Admin, Admin without ticket issue, Admin without manage user permission, Admin without travel workbench).
Select the specific permissions allowed based on the user's role.
-
Once all the details are entered, click on Invite.
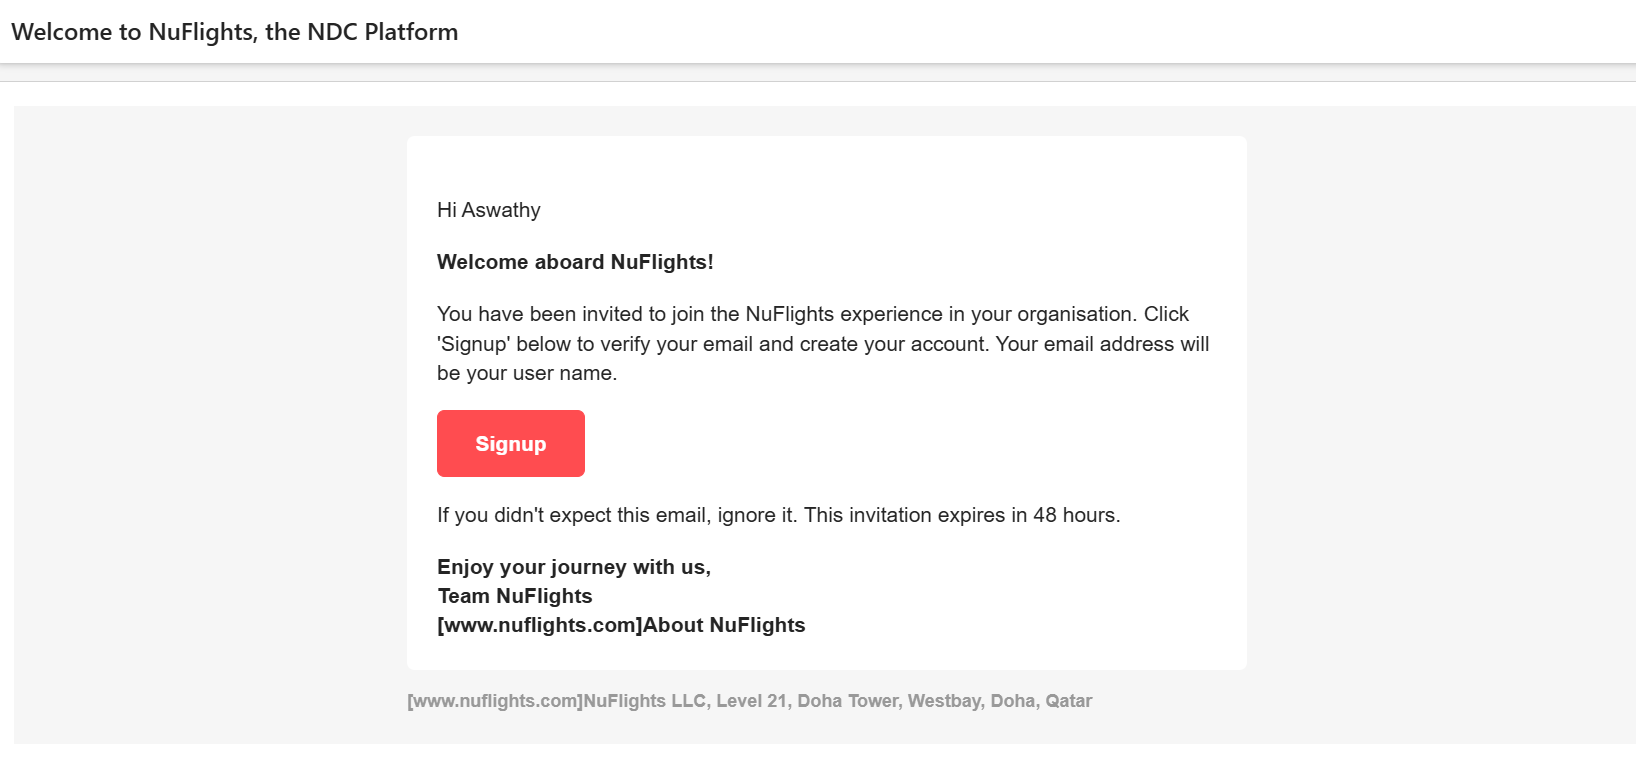
 After sending the invite link, the user will appear in the table in a disabled state. An email with sign-up information will be sent to the email ID provided.
The invitation link expires in 48 hours. If the user attempts to sign up after 48 hours, they will not be able to do so. In such cases, you can resend the invitation by clicking the Click to resend the invitation option on the user list.
Additional Guidance
Strong Authentication with OTP (2FA)
Strong authentication with OTP can be enabled or disabled for users when managing their permissions.
If Two-Factor Authentication (2FA) is enabled, the user requires an authenticator app (e.g., Google Authenticator or Microsoft Authenticator) on their mobile device to log in.
Setting up 2FA:
-
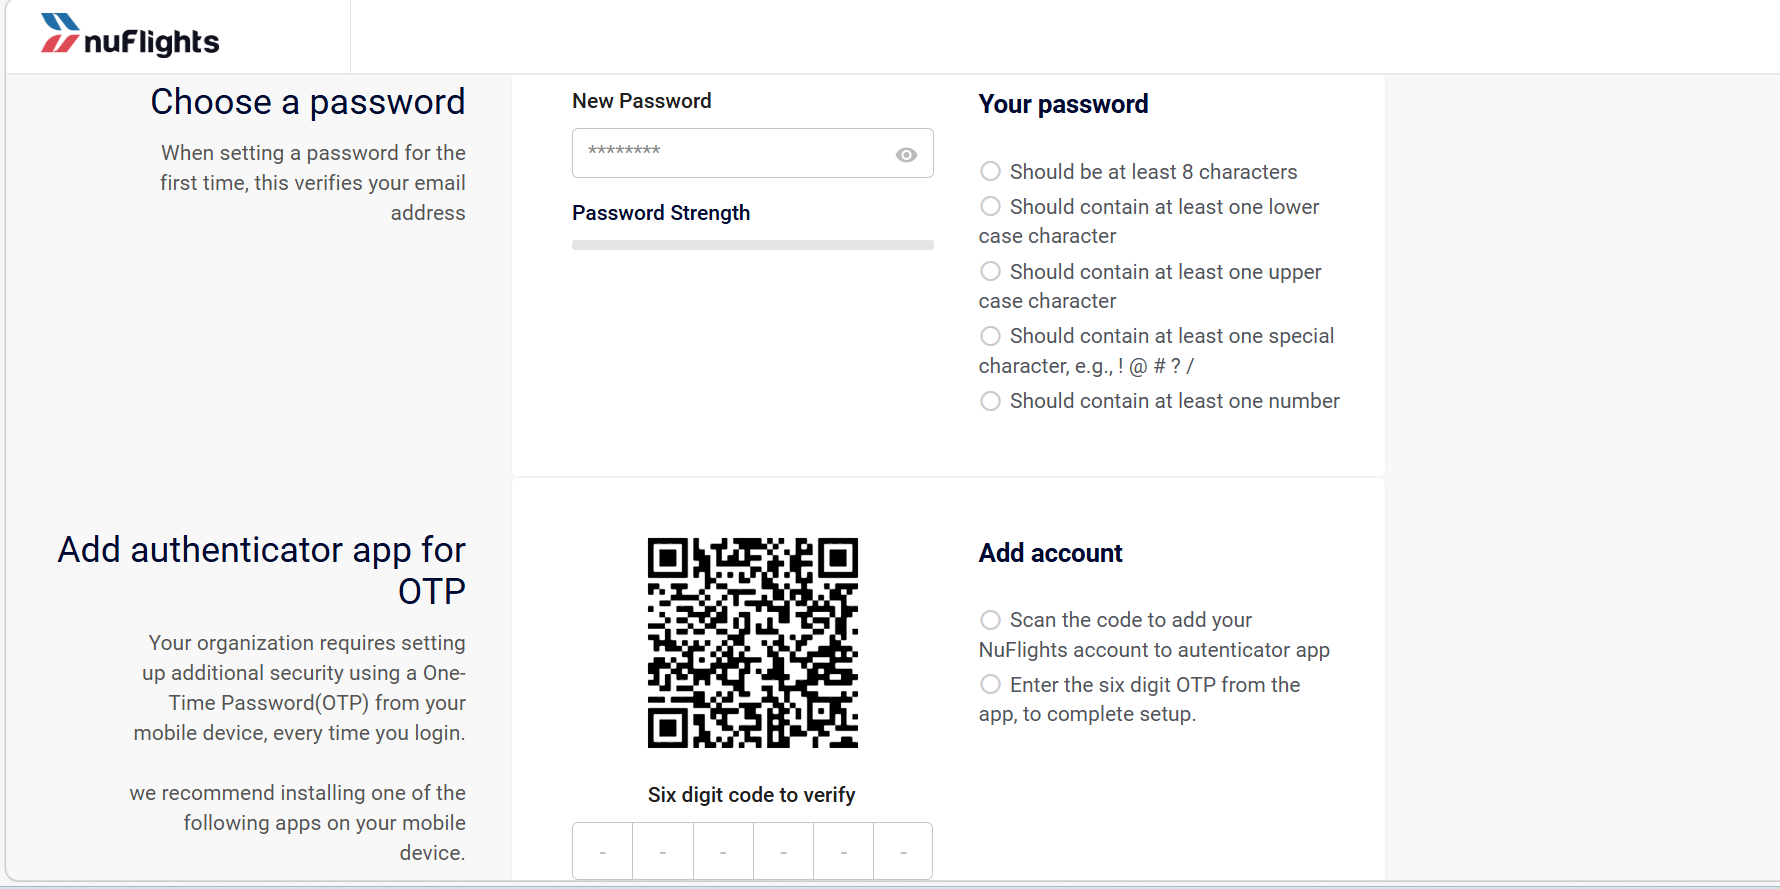
When 2FA is enabled, the invitation email sent to the user will include instructions to set up the Authenticator app for OTP and a prompt to choose a new password.
-
Upon clicking the sign-up link, the user must establish a new password that meets the respective security conditions.
-
The user must scan the provided QR code using their authenticator app.
-
After scanning, the app will generate a 6-digit code. The user must enter this 6-digit code and save it.
-
Once saved, the user will be able to log in with all the access and permissions provided to them.